
The first step was to once again calculate the octagon dimension I needed. It would be entirely too boring to detail the computations I underwent to determine this fact, but I will say that the online octagon calculator my boss found has indispensable throughout this project. If you're interested, you can see it here. Suffice it to say that I determined the length I needed from each face of the octagon and crosscut my stock to that dimension (with 22 1/2 degree angles at each end so that they'd form the shape I needed when put together).
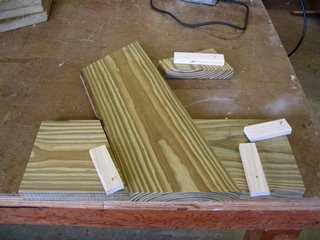
Once I had a pile of 40 base pieces, I needed to figure out a quick and dirty way to join them together. I decided I'd use biscuits, and I made the marking jig above to save myself from having to make 160 measurements (4 biscuits per piece x 40 pieces = 160 biscuits). The workpiece slid into the jig...

Then the poplar arms were swung until they were parallel to the end of the piece. I marked a line at the end of the swinging chaweeka.
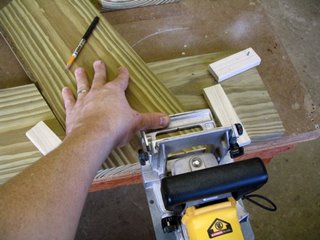
Then I cut the biscuit slots. By the way, when I say biscuits, I mean little ellipses of compressed wood that are inserted in matching slots to join together two pieces of wood. I do not mean the sorts of biscuits one eats. For the best edible biscuits in town, go to Perly's.
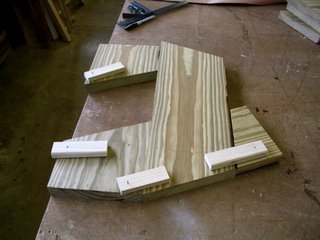
After biscuiting the left-hand ends of each piece, I followed the same procedures for the right-hand ends as you can see above.
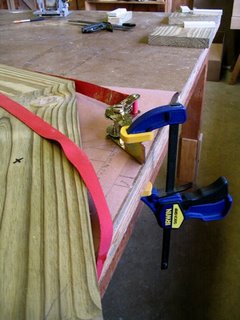
A coworker helped me glue the biscuits and put them in their slots. One has to work fast when dealing with this many wet biscuits; they swell up fairly quickly, reducing the open glue time one has before everything is set. I included the above picture because it depicts a solution to a problem that has long troubled me. As I've said before, I love band clamps. I particularly love them for clamping large mitered workpieces like these roof bases. One downside to band clamps, though, is that no matter how careful one is, they always seem to get twisted. I've been cussing about this for almost 15 years now, and it finally ocurred to me last week that if I thought about the problem for all of five minutes, I might be able so solve it. It's so obvious, really: Just clamp the ratchet mechanism to a table. Sheesh, I wish I'd started doing this a long time ago!
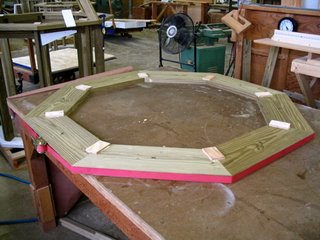
Here's the assembled roof base.

And here's a simple marking jig I put together to mark where I needed to drill holes.
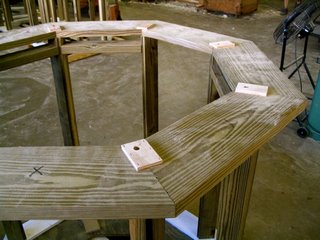
Finally, a completed roof base. I put the plywood scabs on to add tensile strength as well as to give the lag bolts that will eventually connect the roof to the cupola base something to bite down on.
Tomorrow I'll be posting about gnomes.
1 comment:
"bite down on" ? maybe those lag bolts will bite down behind that preposition?
Post a Comment