

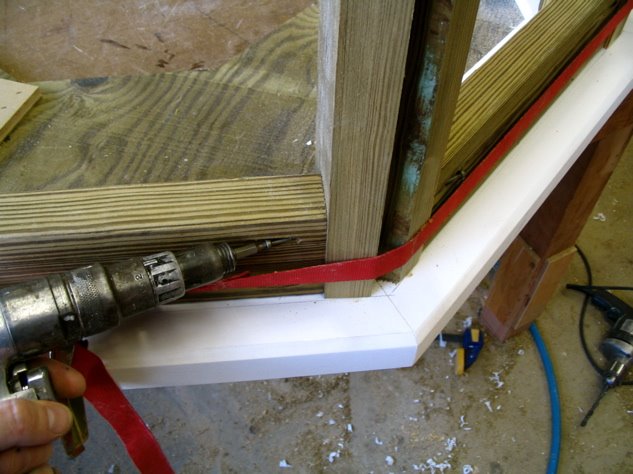
My hope had been that by putting the correct length of spacer between each post and drawing the whole assembly together with a band clamp, everything would come out perfectly dimensioned. I still don't know exactly why it didn't work the way I'd planned, although I suspect there were minute (but additive) irregularities in the posts I had made. As you can see in the photo above, I did use the band-clamp strategy, and it did work--just not as smoothly as I'd hoped. Framing the first cupola base took four hours. The subsequent five only took an hour and a half apiece.
Once I'd gotten everyhing in its place, I attached the spacers to the posts with pocket hole screws. The spacers at the bottom were temporary, just placed there to assist in locating the posts. They did, however, serve another function; more on that later.
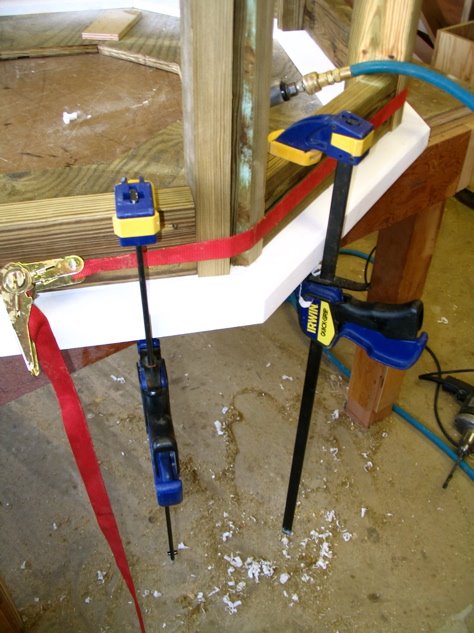
Screwing the spacers to the posts gave me a way to clamp the posts securely in place, as you can see above.

At the beginning of the week I had pre-drilled holes through the bottom of the bases. I made a simple jig on the drill press table to locate the holes. First I used a 1 1/2" forstener bit to make a hole deep enough to accomodate a lag bolt's head. Then I drilled a 1/2" hole through the center of the first hole. My jig kept the workpiece properly positioned so that all the holes were just where I wanted them.

Once I was positive that I had the post perfectly positioned, I located my drill by using the holes I had pre-drilled earlier in the week into the bottoms of the bases. I bored a deep 13/32" hole up through the base and into each post.

Then I drove long lag bolts through the bottom. I can't stress enough how much I very, very much want these things to stay in one piece when they're being lifted 30 or 40 feet in the air by a crane. That's why I'm incorporating just about every over-building idea I can think of!
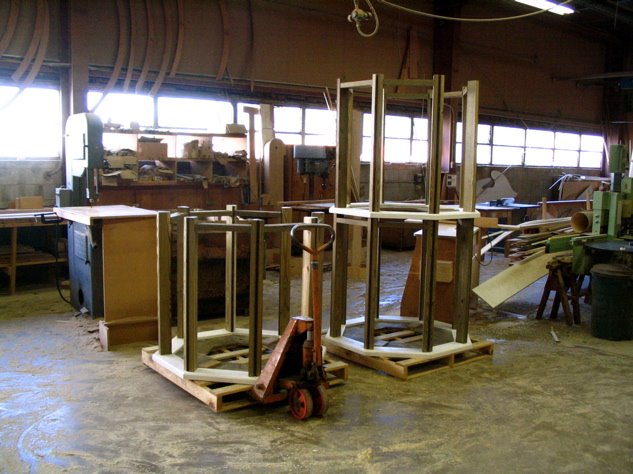
Here are the first few base frames sitting in the shop. At this point, I'm moving them around with a pallet jack.
Oh, one last thing: Remember the spacers I'd used to locate the posts? I used those same pieces as the headers between the tops of the posts. That way I could be certain that the interior widths of the frames between each post would share the same dimension top and bottom.
No comments:
Post a Comment